What is MFA?
MFA (Multi-Factor Authentication) is a cybersecurity best practice widely adopted by organizations worldwide to protect users and their systems and data. MFA enhances your Tyndale account security by requiring multiple verification methods beyond just your password. MFA combines something you know (e.g., a password) with something you have (e.g., a phone). To provide an extra layer of security, you will be prompted to authenticate using the Microsoft Authenticator app on your mobile phone or tablet in addition to logging in to Tyndale applications using your username and password.
Tyndale University requires all Faculty and Staff to enable and use Multi-Factor Authentication (MFA) when accessing Tyndale staff resources. Having MFA enabled on your account significantly reduces the risk unauthorized access to your account, even if your password is compromised.
Currently, MFA is a requirement for Tyndale Staff and Faculty accounts, and we are now encouraging Students to enroll their account with MFA.
Effective September 2026, MFA will be required for all Student accounts.
See further below if you are an existing user trying to setup MFA on your account.
Also please see our frequently asked question (FAQ) section further below.
The recommend MFA authentication method is the Microsoft Authenticator app. On IOS devices, the current minimum version required for this app is IOS 16 and on Android the minimum version is 8.0.
We strongly recommend having 2 different MFA methods on your account, such as Authenticator and SMS/Texting. This will ensure you have a backup method of accessing your account.
New User / First Login
1. Visit https://aka.ms/mfasetup in a web browser on your computer and sign in using your Tyndale email address and password. This Microsoft link provides a direct entry to your Tyndale or MyTyndale account security settings. If you do not know what your account password is, please visit https://password.tyndale.ca and you can request a password reset email be sent to your personal email account.
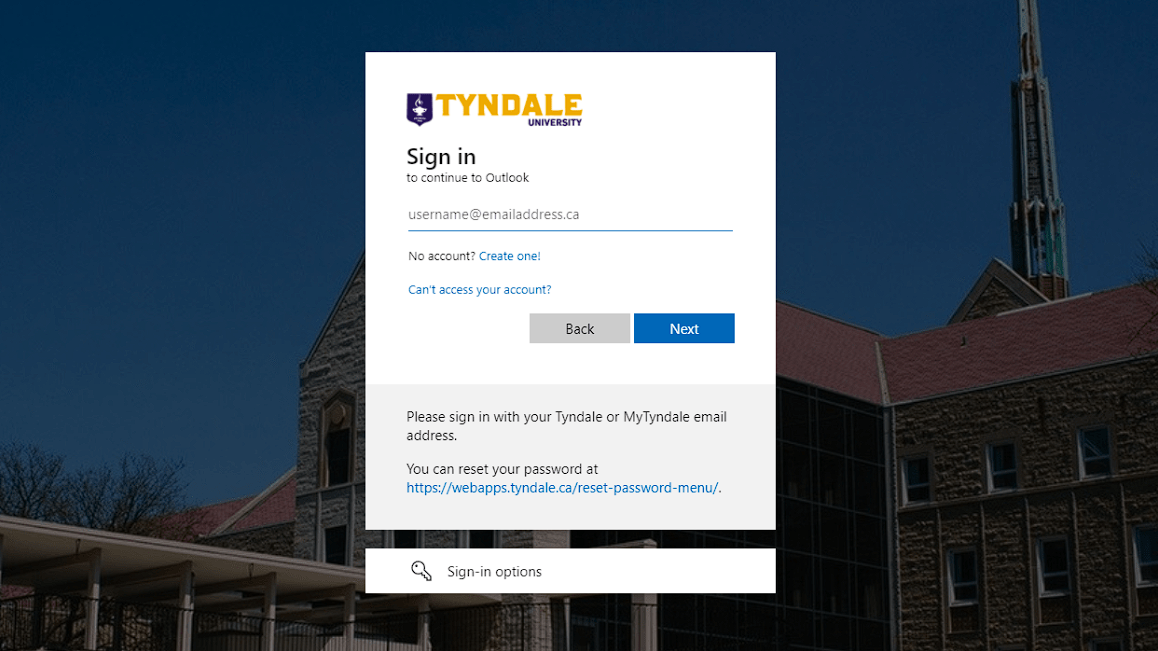
2. Upon your first successful login, you will see a webpage that says, "Let's keep your account secure". Click Next.
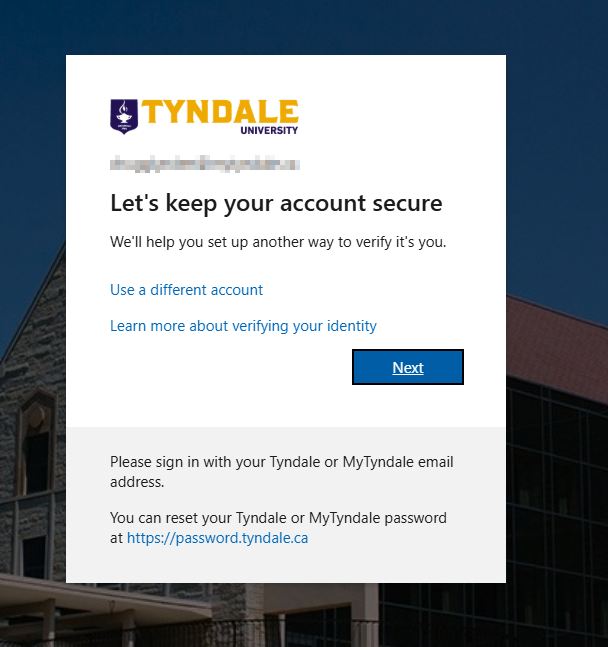
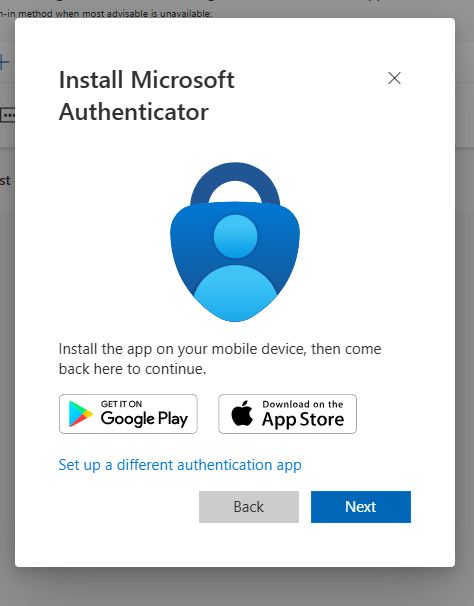
3. Next, you will be prompted to download an app called Microsoft Authenticator onto your phone, tablet or another compatible Android or Apple IOS device.
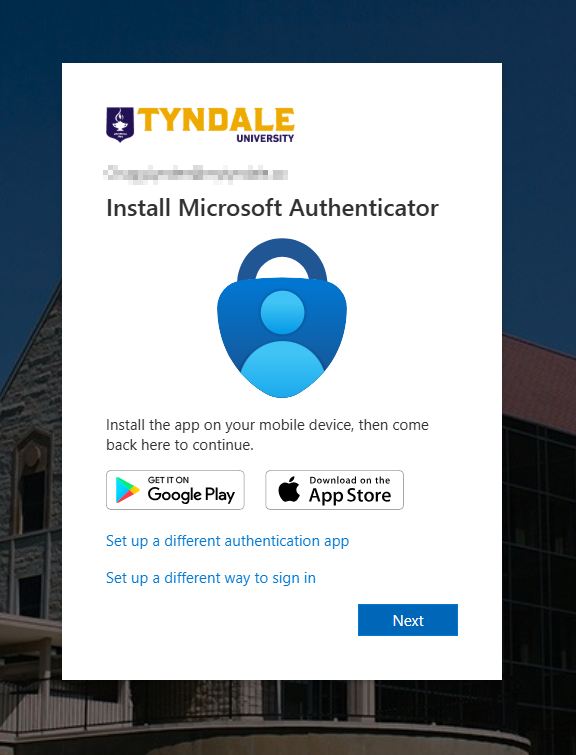
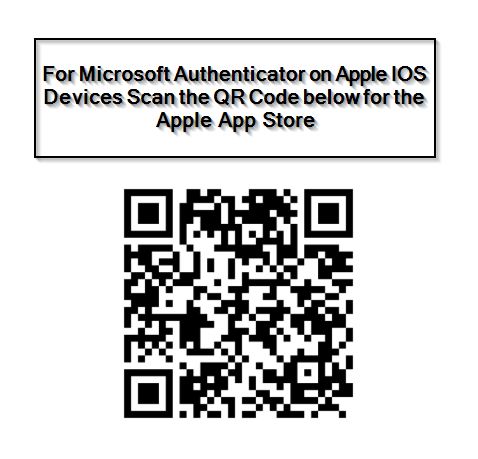
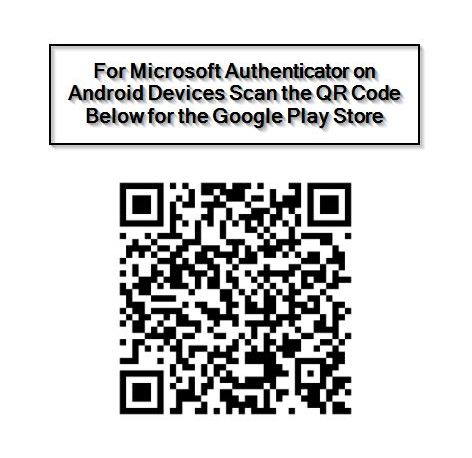
1. The Microsoft Authenticator app is the primary and recommended additional security method of getting into your Tyndale account. To install the Microsoft Authenticator application on your supported mobile or tablet device, scan the below QR codes to either go to the App Store on your iPhone/iPad or the Google Play Store on your Android device.
Be sure to download ONLY the Authenticator application that is published by Microsoft, as there are sponsored/paid Authenticator applications that may not be legitimate. If you are ever asked to pay to use the Authenticator application, you likely installed the wrong one.
The program you install needs to have this icon associated with the App. Do not download any other application other than the one that has this icon and is published by Microsoft:
![]()
You can also use of these links to go directly to the download:
Download Microsoft Authenticator app on Android
Download Microsoft Authenticator app on iOS
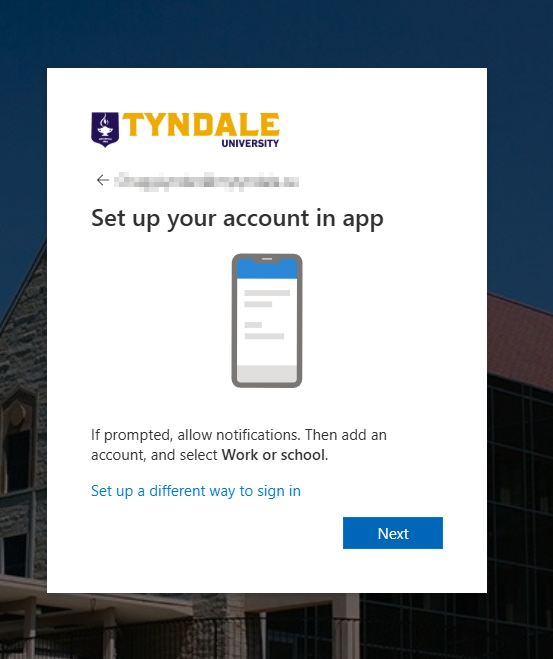
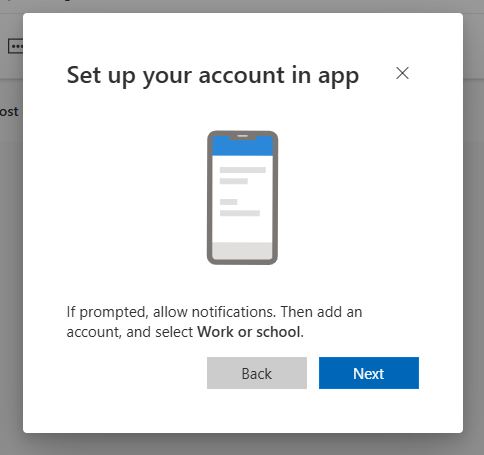
3. Once the Microsoft Authenticator app is installed, open it on your mobile device. Be sure to allow any notification permission request that comes up on your mobile device. click Next on the screen that is still open on your computer, and the below picture shows the screen that will appear on your computer.
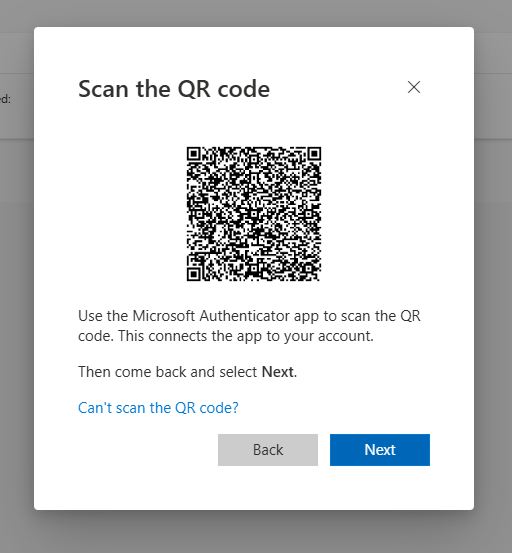
4. Press Next again and a QR code will appear. DO NOT SCAN THE QR CODE YET!
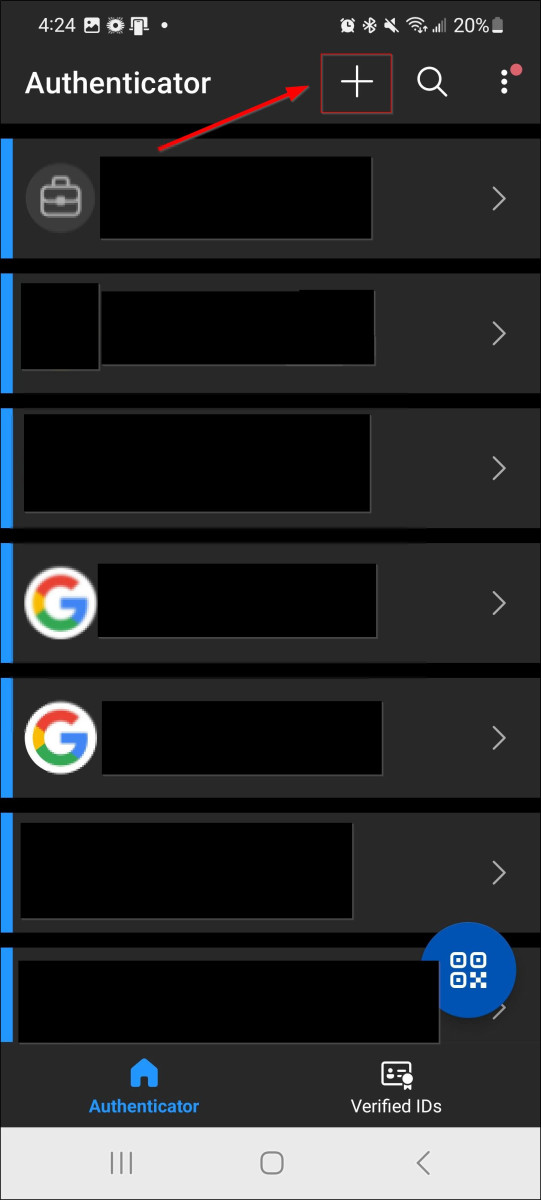
5. On your mobile device, press the + (plus) sign in the top right of the Authenticator application.
Note: If this is the first time that you're setting up the Microsoft Authenticator app, you might receive a prompt asking whether to allow the app to access your camera (iOS) or to allow the app to take pictures and record video (Android). You must select Allow so the Authenticator app can access your camera to take a picture of the QR code in the next step. If you do not allow the camera permission, you can still set up the Authenticator app, but you'll need to add the code information manually.
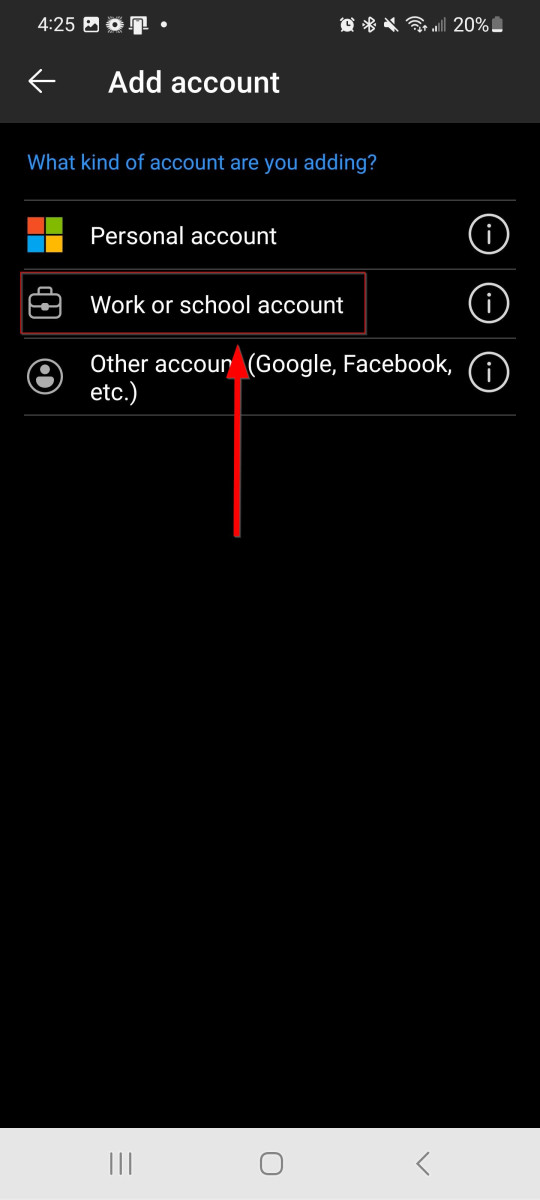
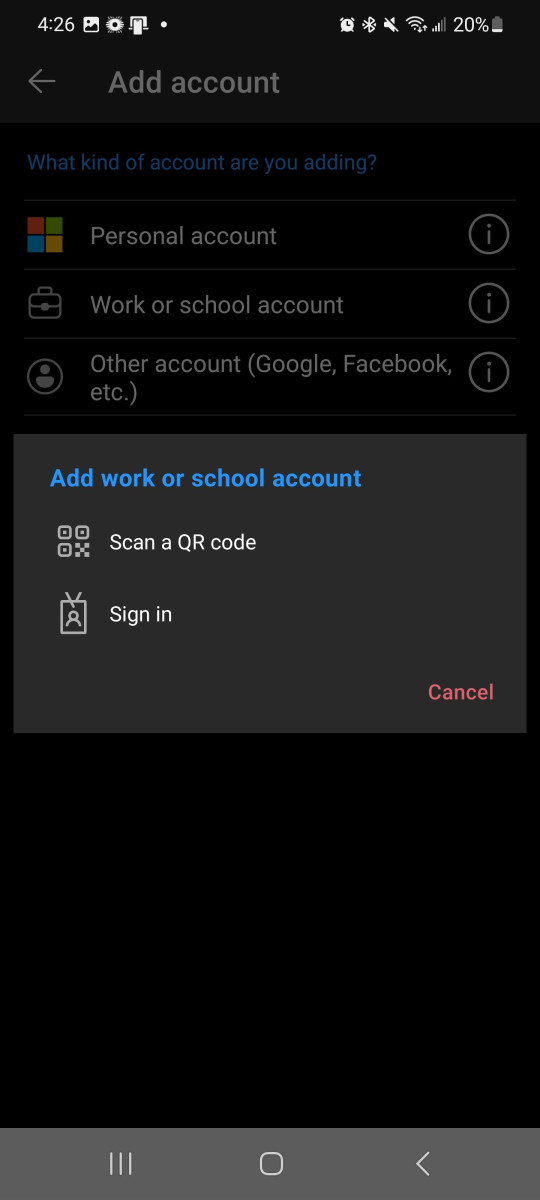
6. On the next screen on your mobile device, select "Work or School account"
7. Next on your mobile device, you will be prompted to scan a QR code. Click on "Scan a QR Code" in the middle of the app.
Again, if this is the first time that you're setting up the Microsoft Authenticator app, you might receive a prompt asking whether to allow the app to access your camera (iOS) or to allow the app to take pictures and record video (Android). You must select Allow so the Authenticator app can access your camera to take a picture of the QR code in the next step. If you do not allow the camera permission, you can still set up the Authenticator app, but you'll need to add the code information manually.
8. Back on your computer screen, you should still have the QR code displayed that we need to scan with your mobile device. Using your mobile device, scan and show the QR code on your computer screen into the scanning box on your mobile device screen.

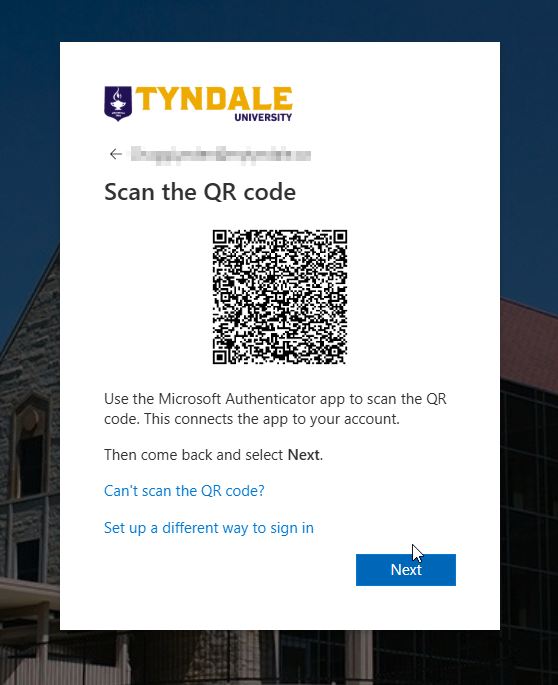
If you're not able to scan the QR code, you can click on "Can't scan the QR code?" and follow the instructions to enter the information manually in your Authenticator app.
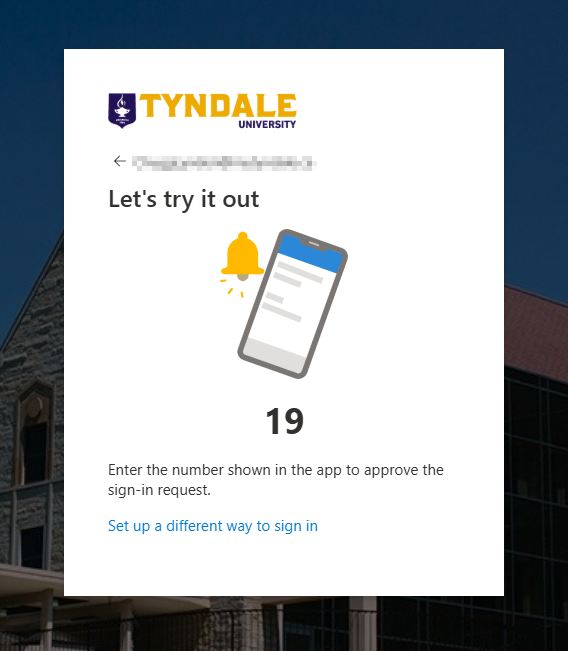
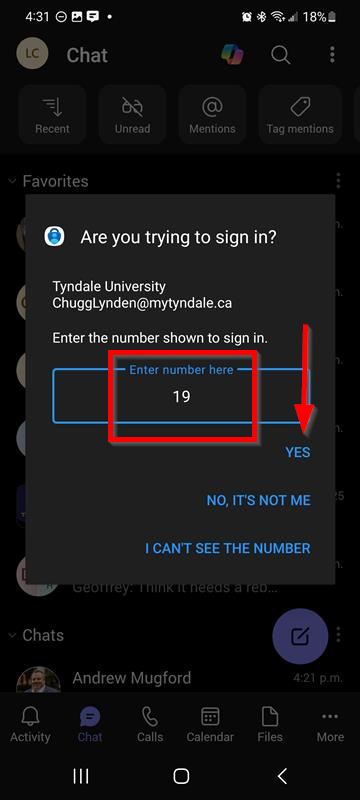
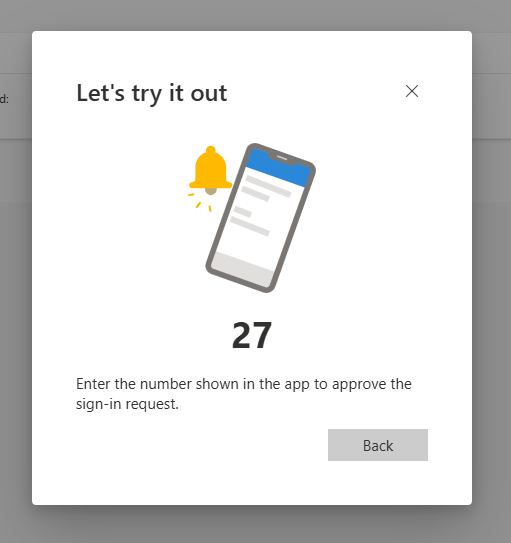
9. Once you've successfully scanned the QR code with your mobile device, we now need to finalize the link between your mobile device and your account by entering the two digits being displayed on your computer screen into the Microsoft Authenticator app on your mobile device. Once the numbers are entered, then click Yes in the Authenticator app on your mobile device.
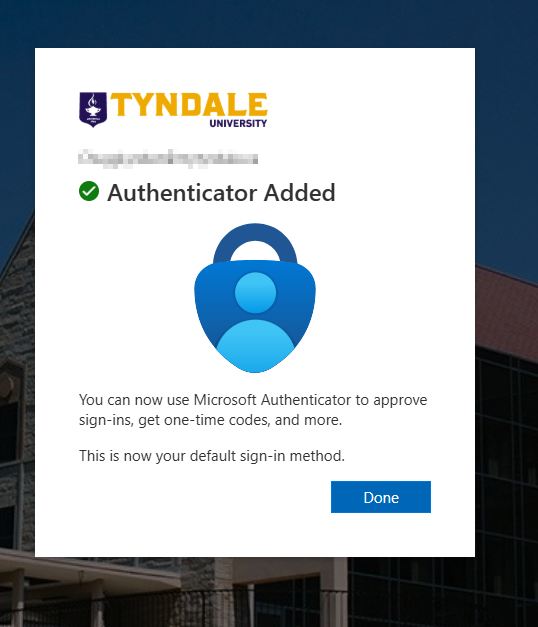
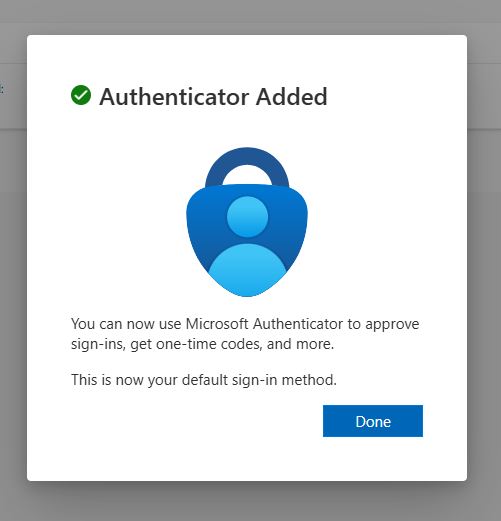
10. Success! The link between your Tyndale account and your Microsoft Authenticator application is now complete! Click done.
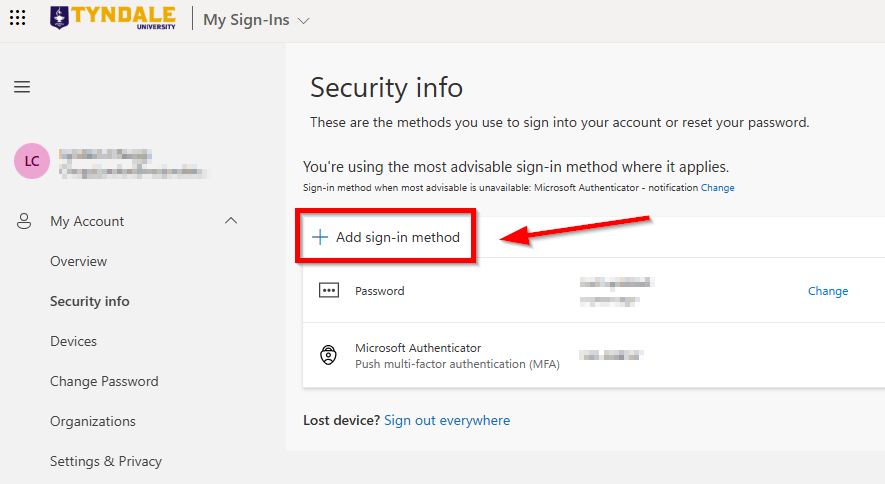
10. On your computer, you will now be directed to the MFA security settings page for your account. At this point, we strongly encourage you to setup a backup MFA authentication method for getting into your Tyndale account. As the Authenticator app is tied both to your exact phone and your Tyndale account, this backup method will be helpful if you ever break, lose, or upgrade your phone, or if the Authenticator app stops working for some reason. The most common backup method is the SMS/texting method. This will let Microsoft text your phone codes to complete the MFA process.
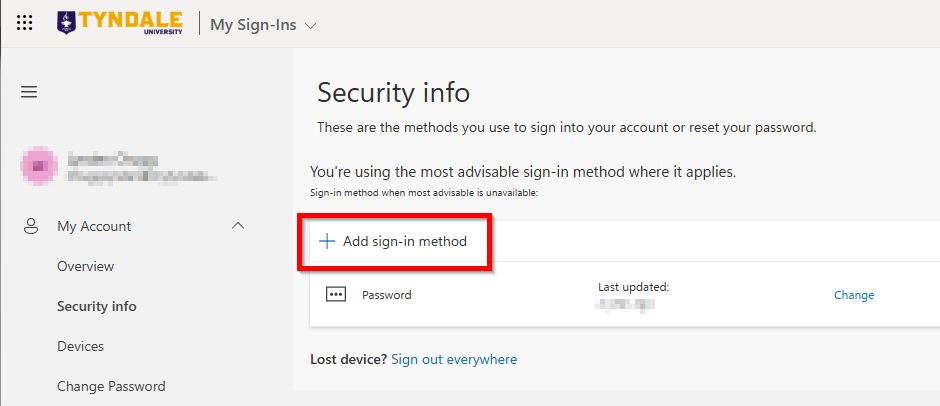
On the below webpage on your computer, click the "+ Add sign-in method" button.
11. Click Phone.

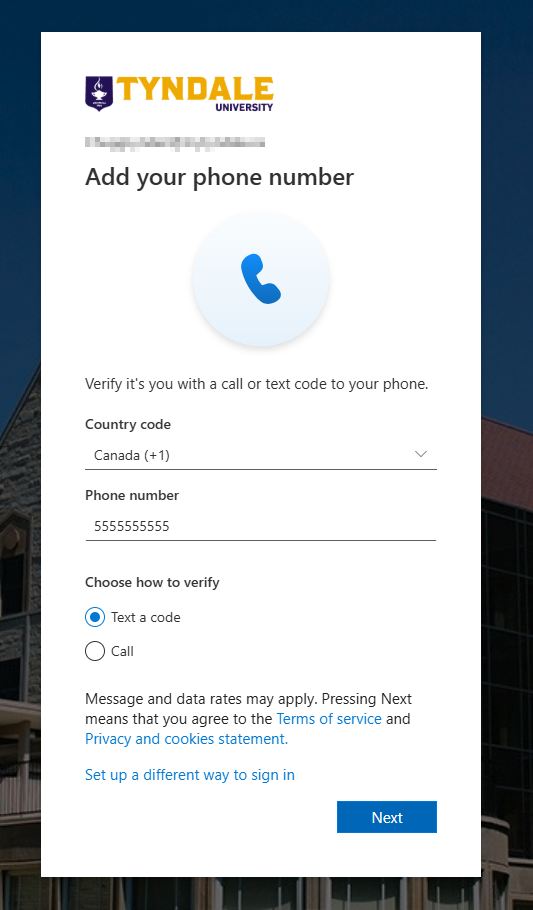
12. Choose Canada and then enter your personal mobile cell phone number including area code. Click next and Microsoft will text you a code.
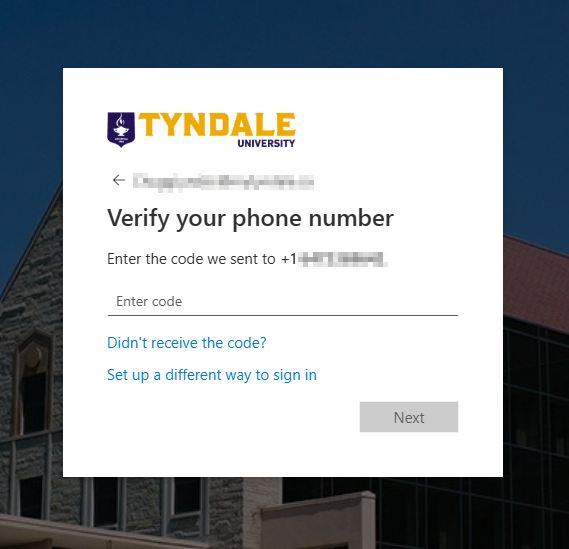
13. Enter the code you received via text in the below box and click Next.
14. Congratulations! You've now added your mobile number as a back-up SMS method of accessing your account.
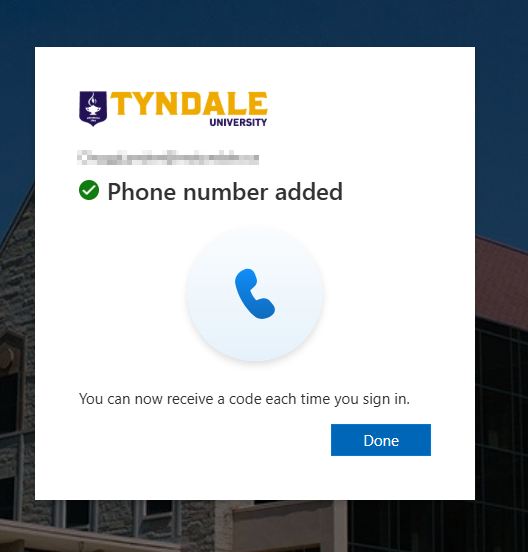
All done!
Please note that because Microsoft Authenticator has proven to be significantly more effective in reducing the chances of your account becoming compromised, you will occasionally be requested during the login process to complete the above Microsoft Authenticator setup procedure.
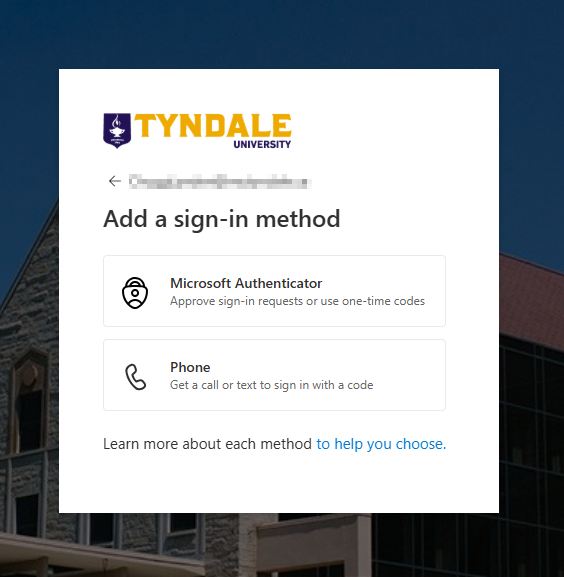
1. If you're not able to complete the MFA setup using the Authenticator app, you can click "Set up a different way to sign in" to proceed with setting up the phone method for MFA. Click Phone to proceed.
2. Select Canada, then type your personal mobile number, including area code.
3. Choose either "Text a code" or "Call" for what works best for you. If you have a landline only or cannot receive texts, you can select the Call me option to complete the MFA process with a phone call. Select next and Microsoft will text you a code to ensure that you can receive and input the code.
4. Type in the code you received on your phone to complete the process.
5. Once a successful test is completed your MFA is set up!
SETTING UP MFA ON YOUR EXISTING TYNDALE OFFICE 365 ACCOUNT
1. On a computer or laptop, please visit https://aka.ms/mfasetup and sign in with your Tyndale or MyTyndale email address. You will be directed to the "Security info" webpage below. Click on "Add sign-in method"
1. Click Microsoft Authenticator.

2. The Microsoft Authenticator app is the primary and recommended additional security method of getting into your Tyndale account. To install the Microsoft Authenticator application on your supported mobile or tablet device, scan the below QR codes to either go to the App Store on your iPhone/iPad or the Google Play Store on your Android device.
Be sure to download ONLY the Authenticator application that is published by Microsoft, as there are sponsored/paid Authenticator applications that may not be legitimate. If you are ever asked to pay to use the Authenticator application, you likely installed the wrong one.
The program you install needs to have this icon associated with the App. Do not download any other application other than the one that has this icon and is published by Microsoft:
![]()
You can also use of these links to go directly to the download:
Download Microsoft Authenticator app on Android
Download Microsoft Authenticator app on iOS
3. Once the Microsoft Authenticator app is installed, open it on your mobile device. Be sure to allow any notification permission request that comes up on your mobile device. Click Next on the screen that is still open on your computer, and the below picture shows the screen that will appear on your computer.
Note: If this is the first time that you're setting up the Microsoft Authenticator app, you might receive a prompt asking whether to allow the app to access your camera (iOS) or to allow the app to take pictures and record video (Android). You must select Allow so the Authenticator app can access your camera to take a picture of the QR code in the next step. If you do not allow the camera permission, you can still set up the Authenticator app, but you'll need to add the code information manually.
4. Press Next again and a QR code will appear. DO NOT SCAN THE QR CODE YET!
5. On your mobile device, press the + (plus) sign in the top right of the Authenticator application.
6. On the next screen on your mobile device, select "Work or School account"
7. Next on your mobile device, you will be prompted to scan a QR code. Click on "Scan a QR Code" in the middle of the app.
8. Back on your computer screen, you should still have the QR code displayed that we need to scan with your mobile device. Using your mobile device, scan and show the QR code on your computer screen into the scanning box on your mobile device screen.

If you're not able to scan the QR code, you can click on "Can't scan the QR code?" and follow the instructions to enter the information manually in your Authenticator app.
9. Once you've successfully scanned the QR code with your mobile device, we now need to finalize the link between your mobile device and your account by entering the two digits being displayed on your computer screen into the Microsoft Authenticator app on your mobile device. Once the numbers are entered, then click Yes in the Authenticator app on your mobile device.
10. Success! The link between your Tyndale account and your Microsoft Authenticator application is now complete! Click done.
11. On your computer, you will now be directed back to MFA security settings page for your account. At this point, we strongly encourage you to setup a backup MFA authentication method for getting into your Tyndale account. As the Authenticator app is tied both to your exact phone and your Tyndale account, this backup method will be helpful if you ever break, lose, or upgrade your phone, or if the Authenticator app stops working for some reason. The most common backup method is the SMS/texting method. This will let Microsoft text your phone the codes necessary to complete the MFA process.
2. Click Phone.
3. Choose Canada and then enter your personal mobile cell phone number including area code. Click next and Microsoft will text you a code. You can also choose the "Call" option for Microsoft to call you to authenticate your MFA sessions. This may be helpful for you if you have a landline only or cannot receive text messages.
4. Enter the code you received via text in the box below and click Next.
5. Congratulations! You've now added your mobile number as a back-up SMS method of accessing your account.