Download Your Copy of Office 365
Please note that the below instructions require a licensed Microsoft 365 account to activate the desktop version of Microsoft 365 on your personal computer. Effective January 12, 2026, each active students Tyndale Microsoft 365 account is licensed to use the full desktop version of Microsoft 365. If you prefer, please refer also to the web-based versions of Microsoft 365 apps found at Tyndale One or you're also able to use the Office 2021 suite of software found on Library and Lab computers.
Please follow the below instructions to download your copy Microsoft 365 for installation on your personal computer.
1. Go to webmail.tyndale.ca and sign in using your Tyndale provided username and password.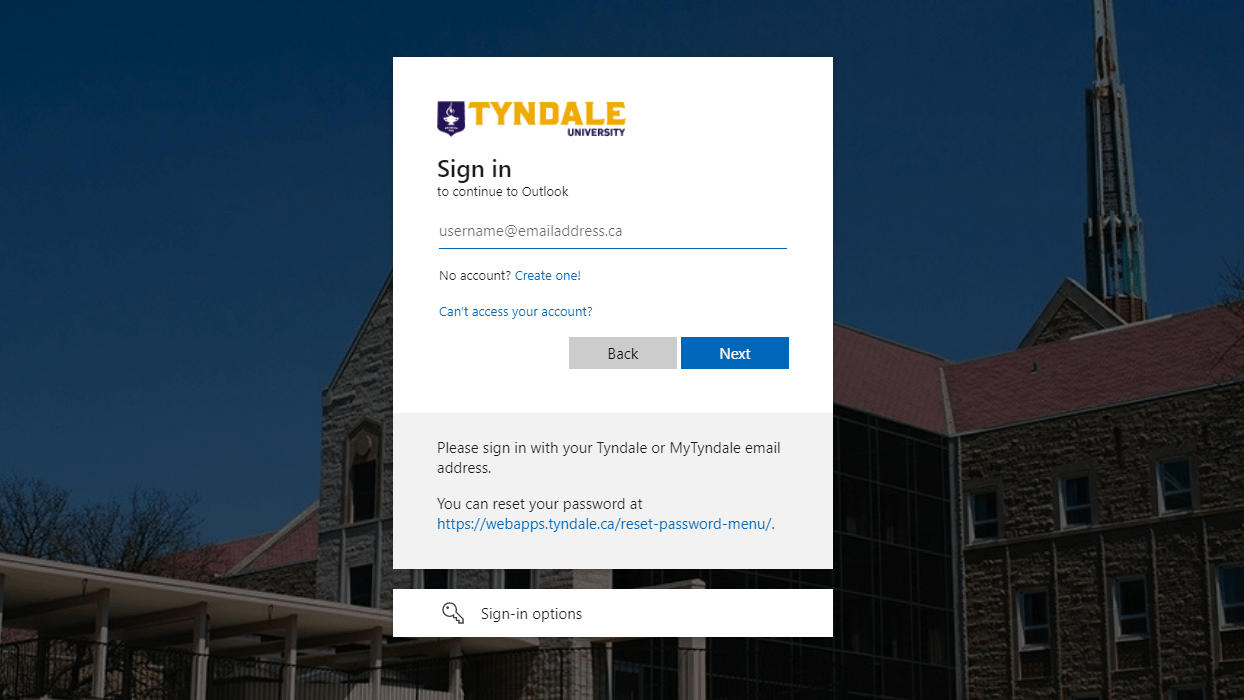
2. Click the App Launcher icon in the top left corner of the window. 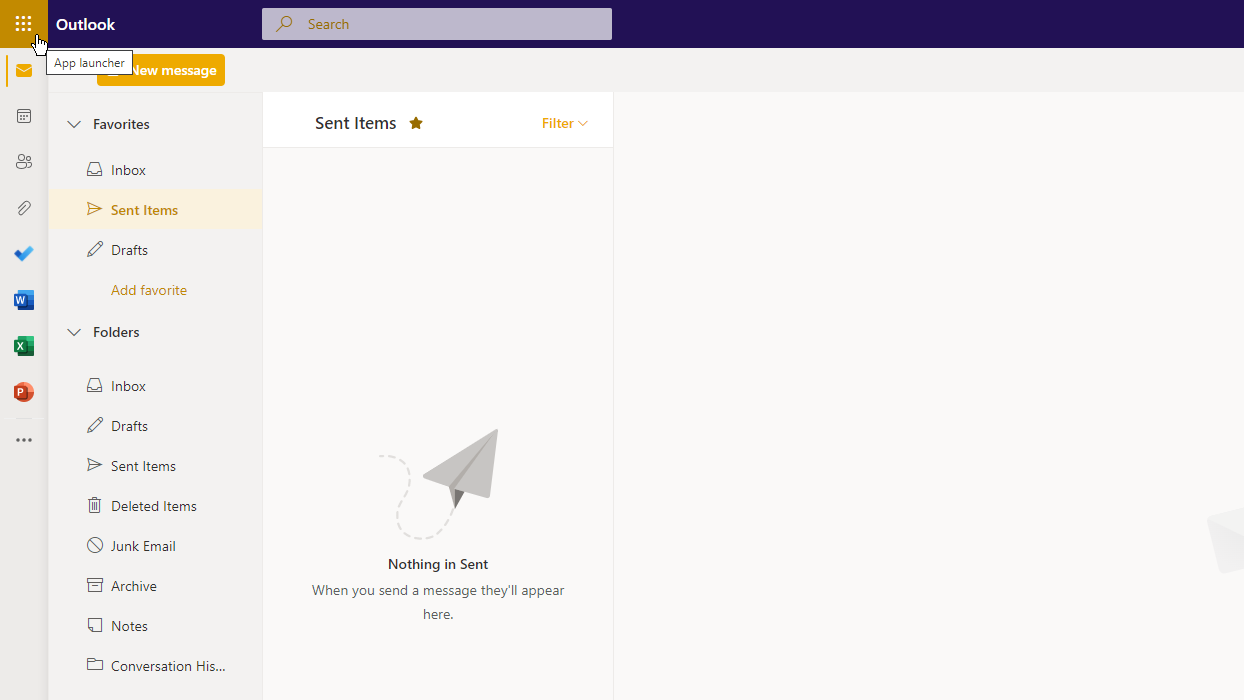
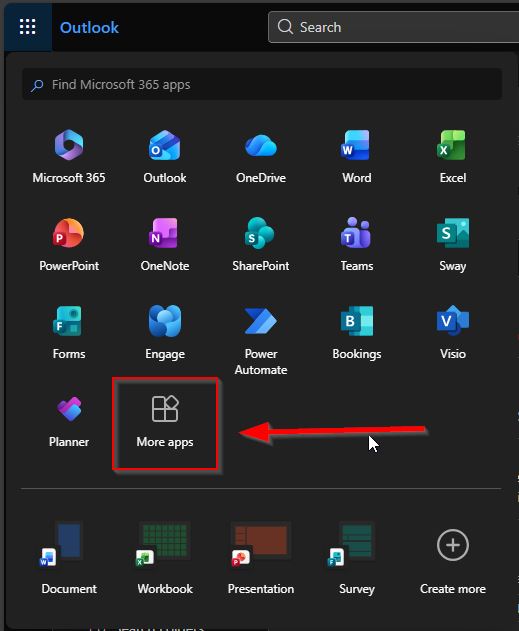
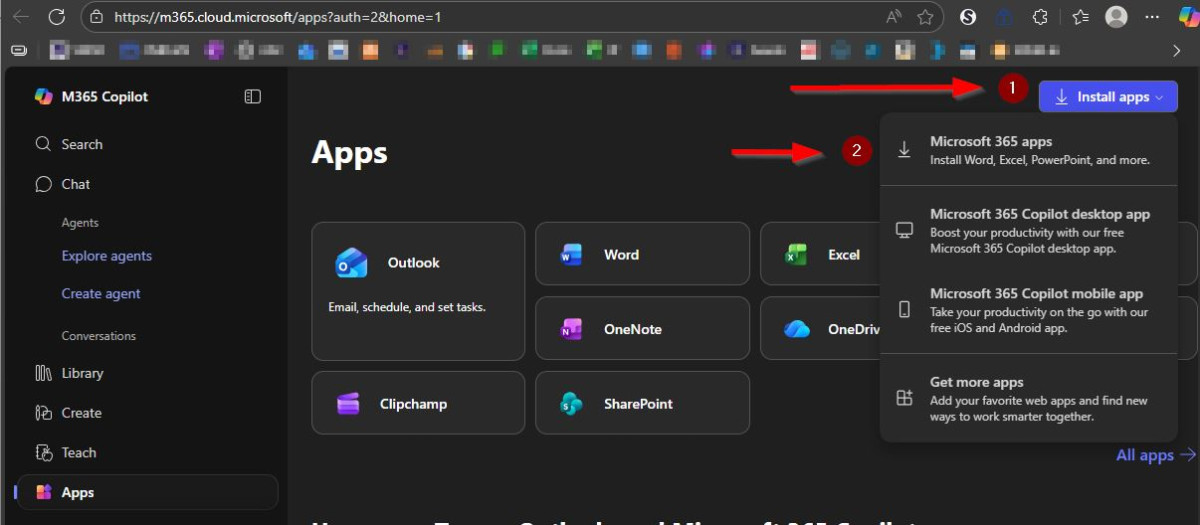
3. Click the More Apps button as indicated, and you will be redirected to the Office Apps home page.
4. Click Install Apps on the top right and from the drop down select Microsoft 365 Apps.
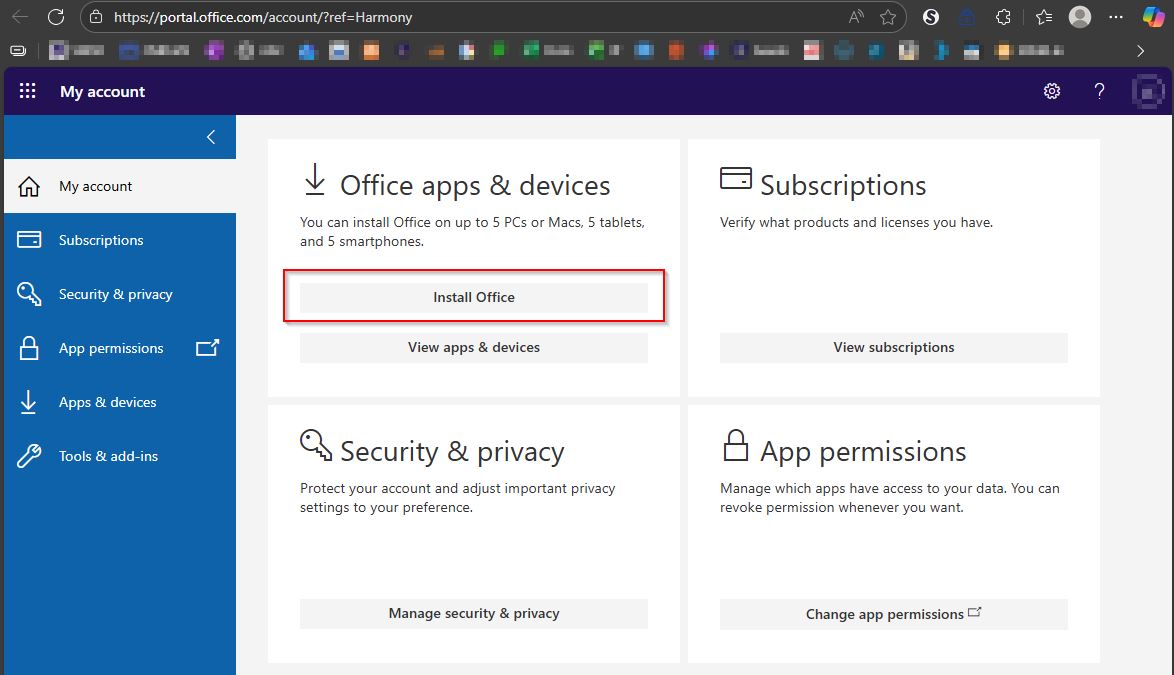
5. Click Install Office as indicated, and you will have a file start downloading on your computer. It can be located in your Downloads folder. Once it's completed downloading open the file to start installing your copy of Microsoft 365. Once it's installed you will likely be prompted to login with your MyTyndale student account again to activate your copy.
Students will have access to Office 365 Apps for the duration they are enrolled in courses and up to 6 months after they graduate, at which point they will only retain access to their Webmail.
For Mac users, it is best to download your copy through the Apple App Store by searching for Microsoft Office 365.
DOWNLOAD YOUR COPY OF MICROSOFT TEAMS
1. in your browser navigate to microsoft.com/en-ca/microsoft-teams/download-app and select Download Teams for Windows. For Mac users, the button will say "Download for Mac" instead.
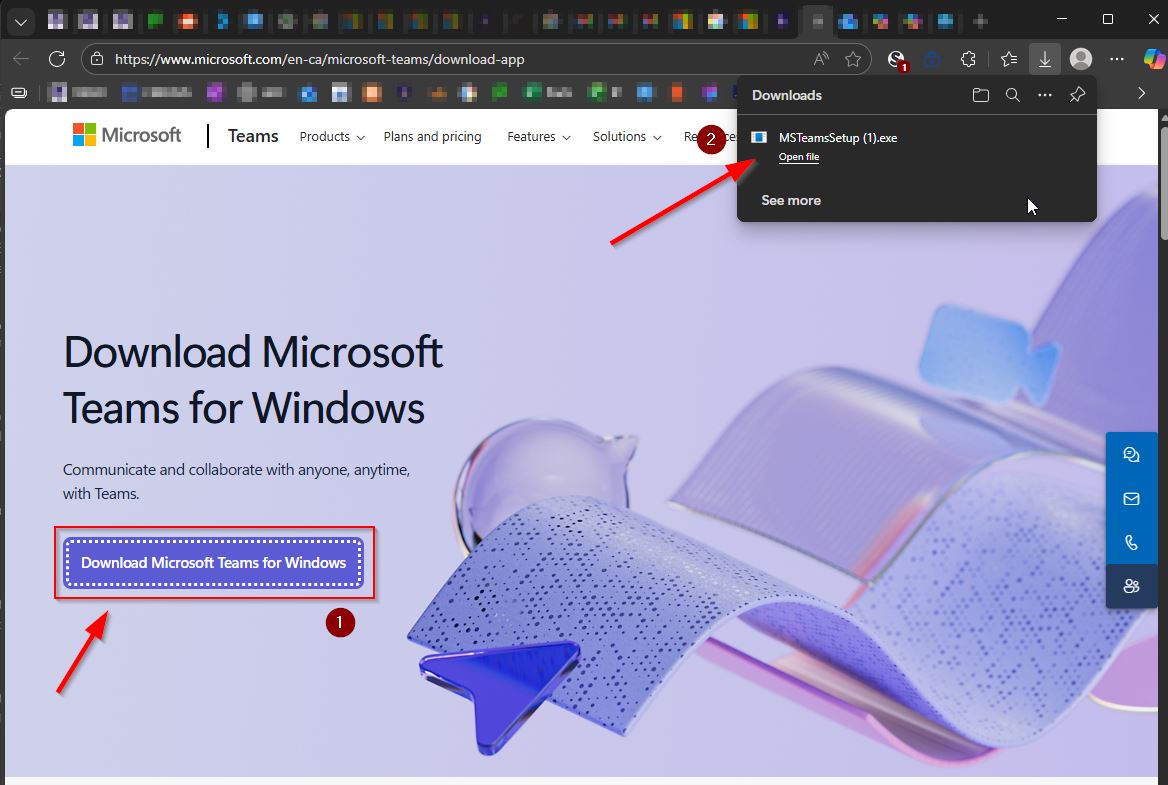
You will have a file start downloading on your computer, it can be located in your Downloads folder. Once it's completed downloading open the file to start installing your copy of Teams. Once it's installed you will be prompted to login with your Tyndale or MyTyndale account again to use the program with your account.
SETTING UP MFA ON YOUR TYNDALE OFFICE 365 ACCOUNT
1. On a computer or laptop, go to mysignins.microsoft.com/security-info and sign in with your Tyndale email address if not already signed into webmail. Alternatively, log into your Tyndale webmail at webmail.tyndale.ca, click your profile picture on the top-right of the window, followed by View account, on the sidebar, go to the Security info page.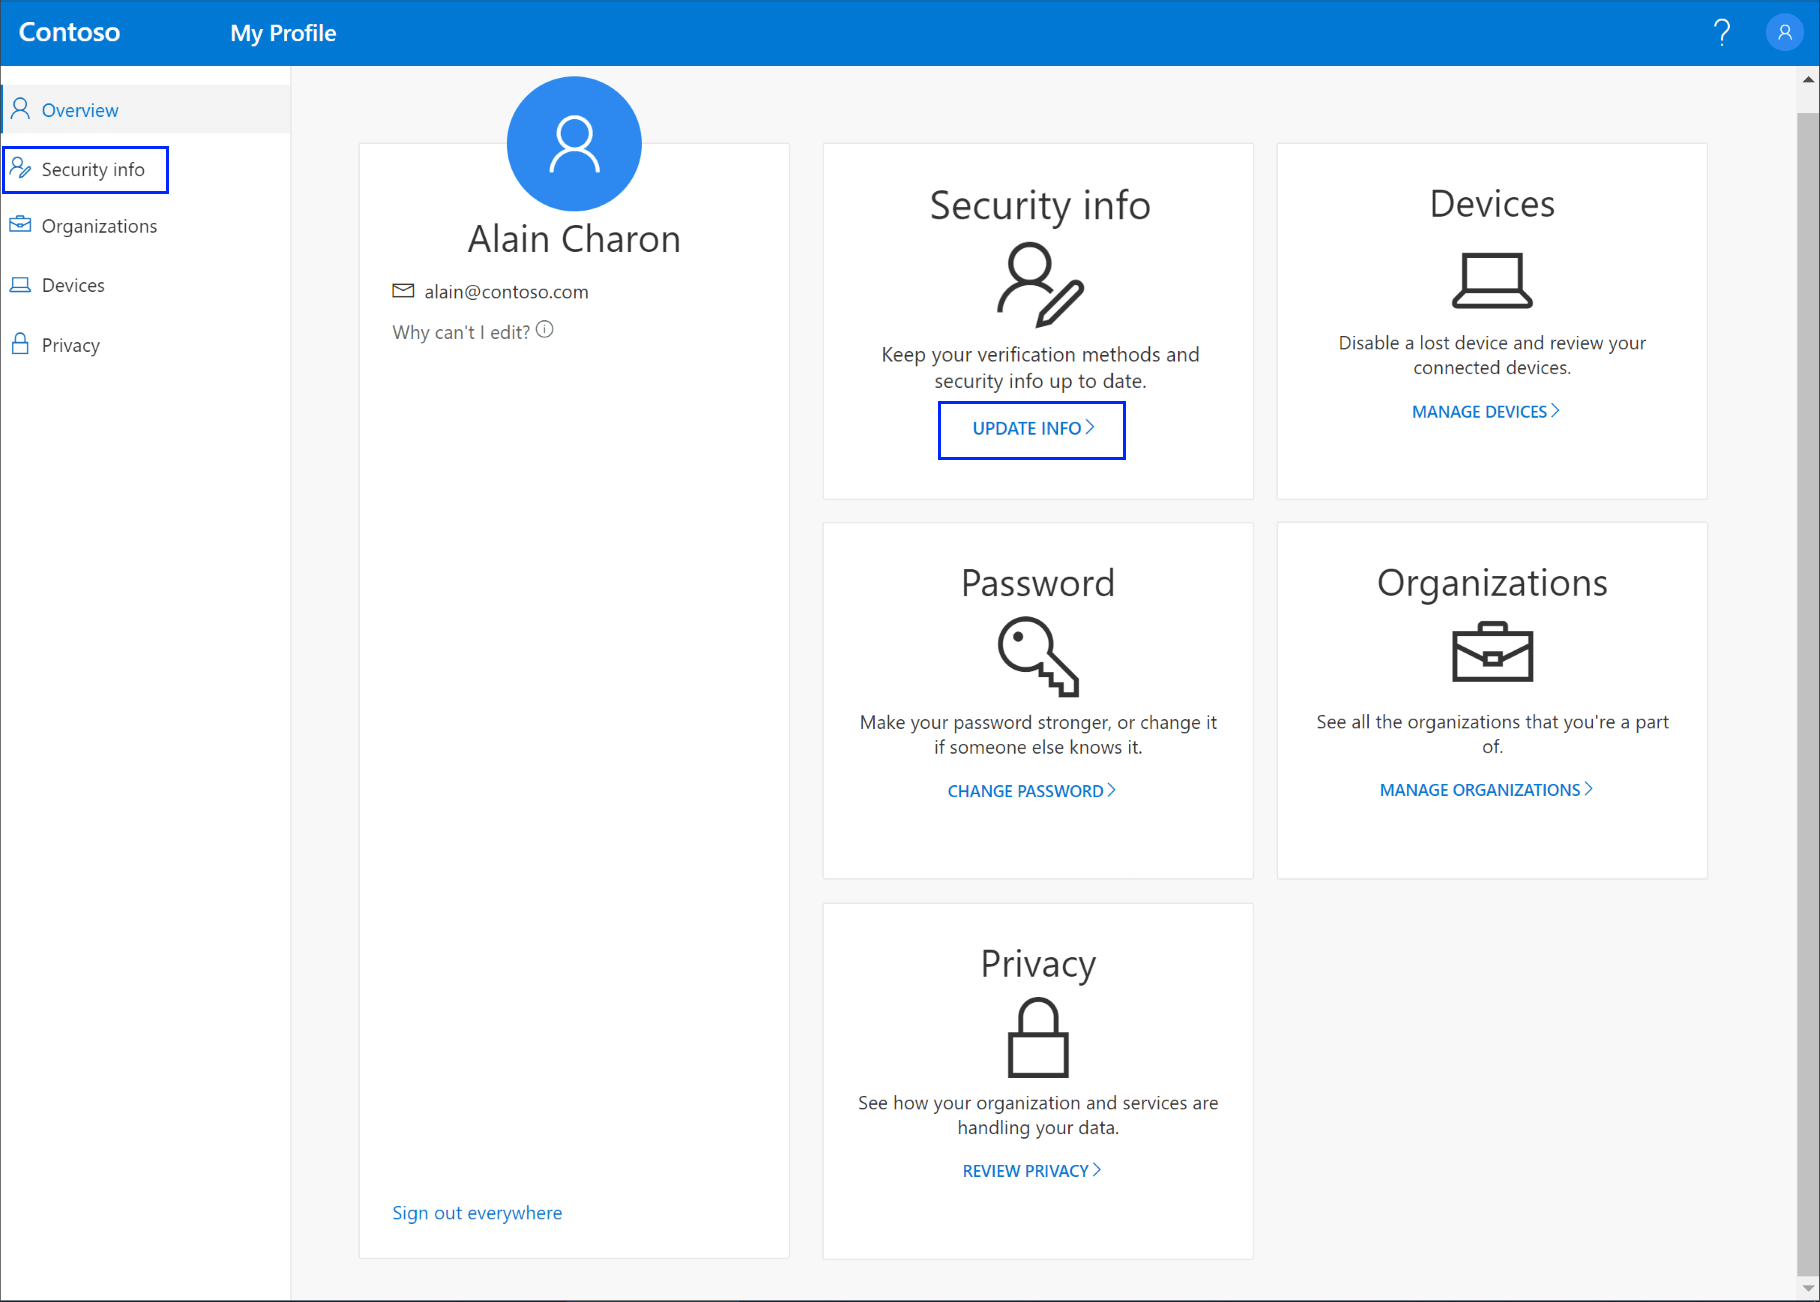
2. On the Security info page, click Add method.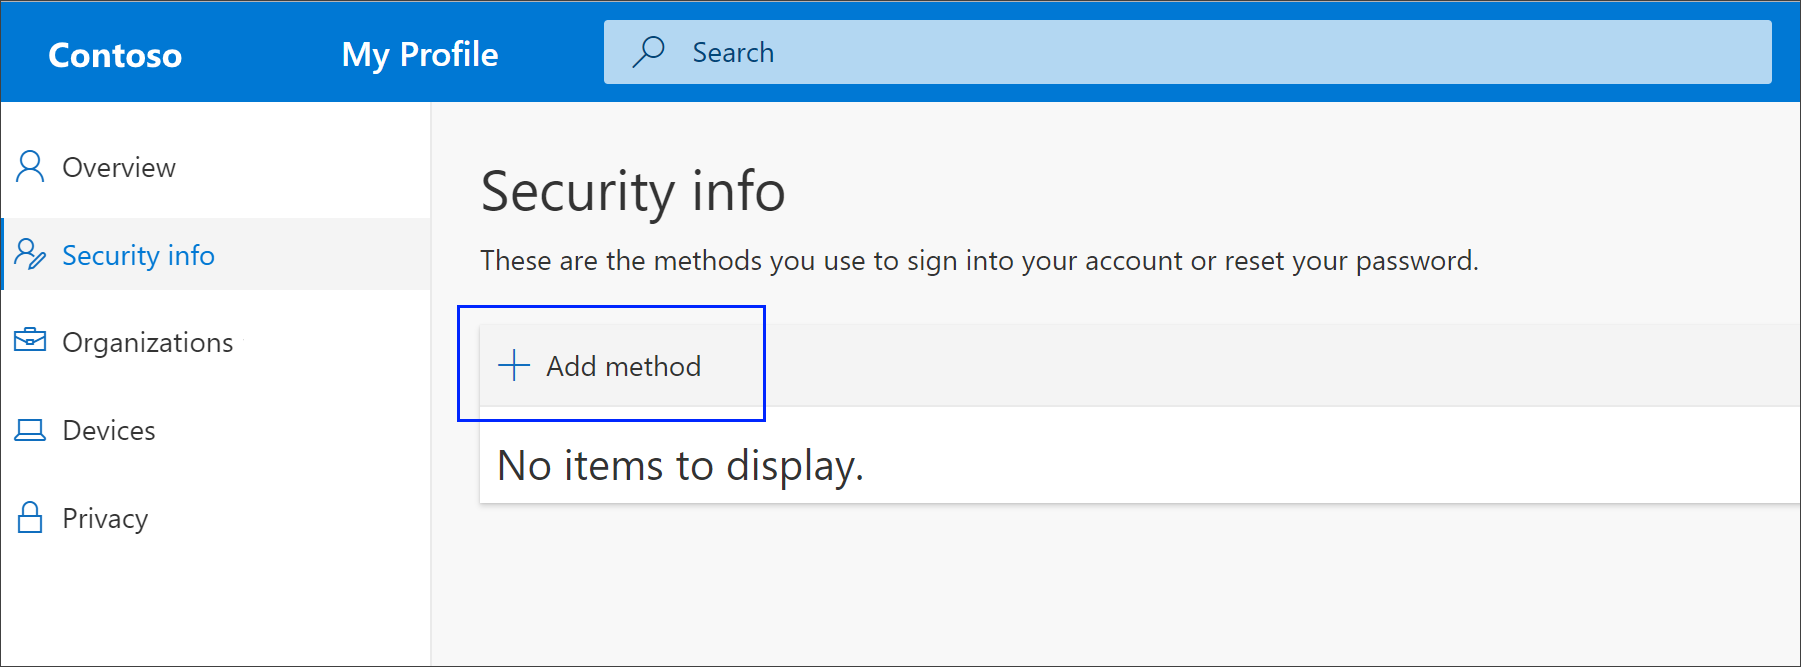
3. Select a method below to continue.
1. Select Authenticator app
2. You will then be prompted to install the Microsoft Authenticator app onto your mobile device.
Download Microsoft Authenticator app on Android
Download Microsoft Authenticator app on iOS
3. Open the Microsoft Authenticator app on your mobile device. If you are prompted to give permission, allow the permissions (see note below). Tap the plus-button on the top-right of the Authenticator app and select Work or School Account.
Note: If this is the first time you're setting up the Microsoft Authenticator app, you might receive a prompt asking whether to allow the app to access your camera (iOS) or to allow the app to take pictures and record video (Android). You must select Allow so the authenticator app can access your camera to take a picture of the QR code in the next step. If you do not allow the camera, you can still set up the authenticator app, but you'll need to add the code information manually.
4. Return to the Set up your account page on your computer, and then select Next. A QR code will appear that can be scanned. (The image below is an example and is not a usable QR code)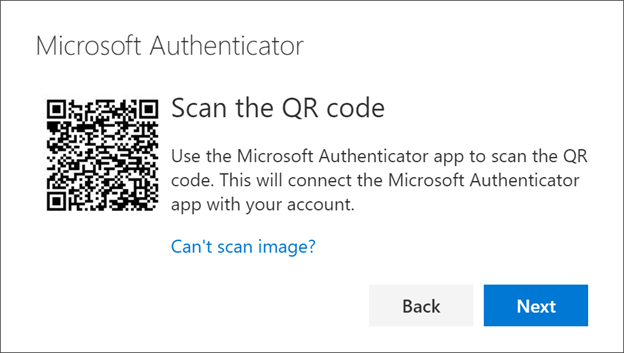
5. Scan the provided code with the Microsoft Authenticator app QR code reader, which appeared on your mobile device after you created your work or school account. The authenticator app should successfully add your work or school account without requiring any additional information from you. However, if the QR code reader cannot read the code, you can select the Can't scan the QR code link and manually enter the code and URL into the Microsoft Authenticator app. For more information about manually adding a code, see Manually add an account to the app.
6. Select Next on the Scan the QR code page on your computer.
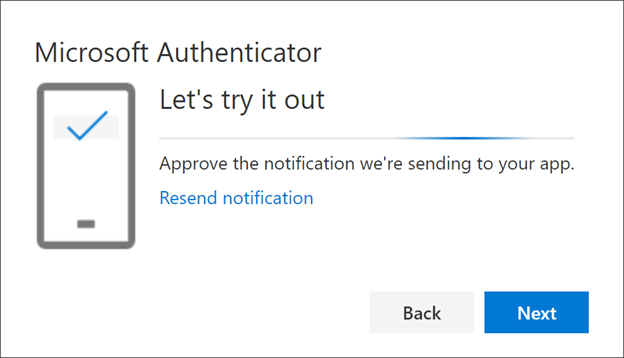
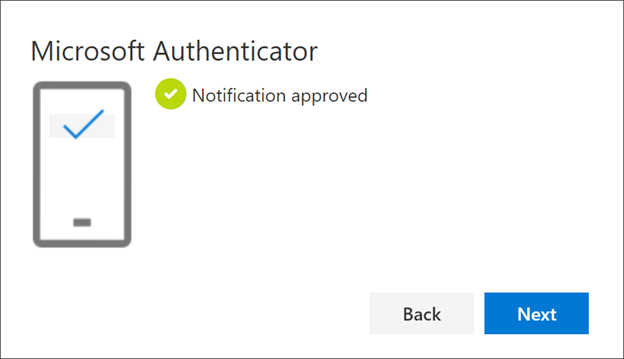
7. A notification is sent to the Microsoft Authenticator app on your mobile device, to test your setup.Let's try it out page on Microsoft Authenticator
Note: The Test/SMS/Phone Call method may not work when outside of you cellular data range, or may charge you for the text. If you typically are out of cell service range, please use Method #1, Authenticator App Method.
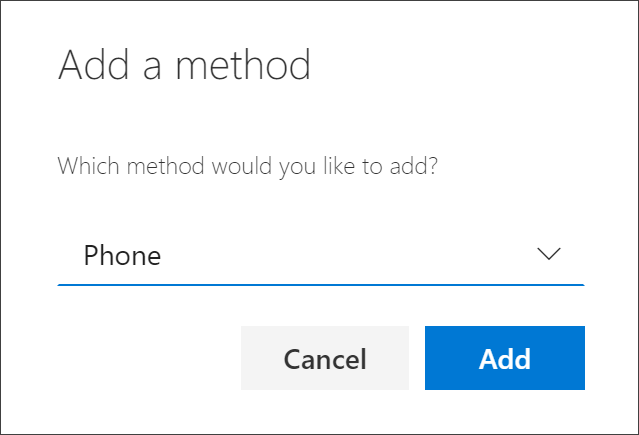
1. Select the Phone option and click Add.Add method box, with Phone selected
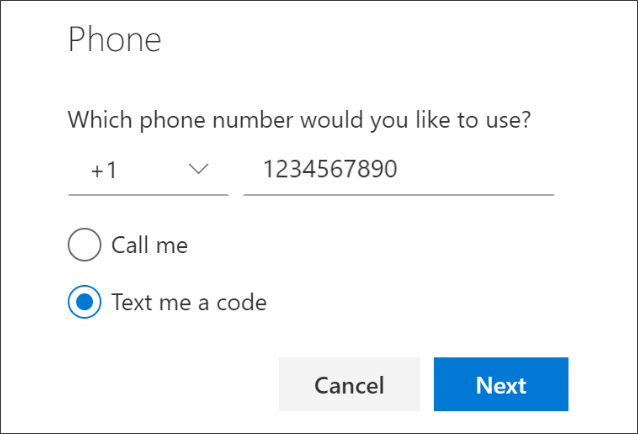
2. Enter in your phone number, select Text me a code, and click Next.Screenshot that shows the "Phone" page, with "Text me a code" selected.
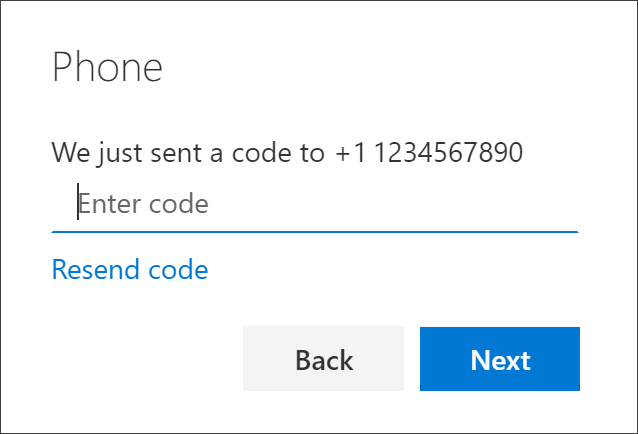
3. Enter in the code that was sent to you. it may take a few moments for the code to arrive.Add phone number and choose text messages
4. If you get a verification screen, you're all done.Success notification, connecting the phone number, the choice to receive text messages, and your account